How to Train With Gymnastic Rings at Home
As an Amazon Associate I earn from qualifying purchases.
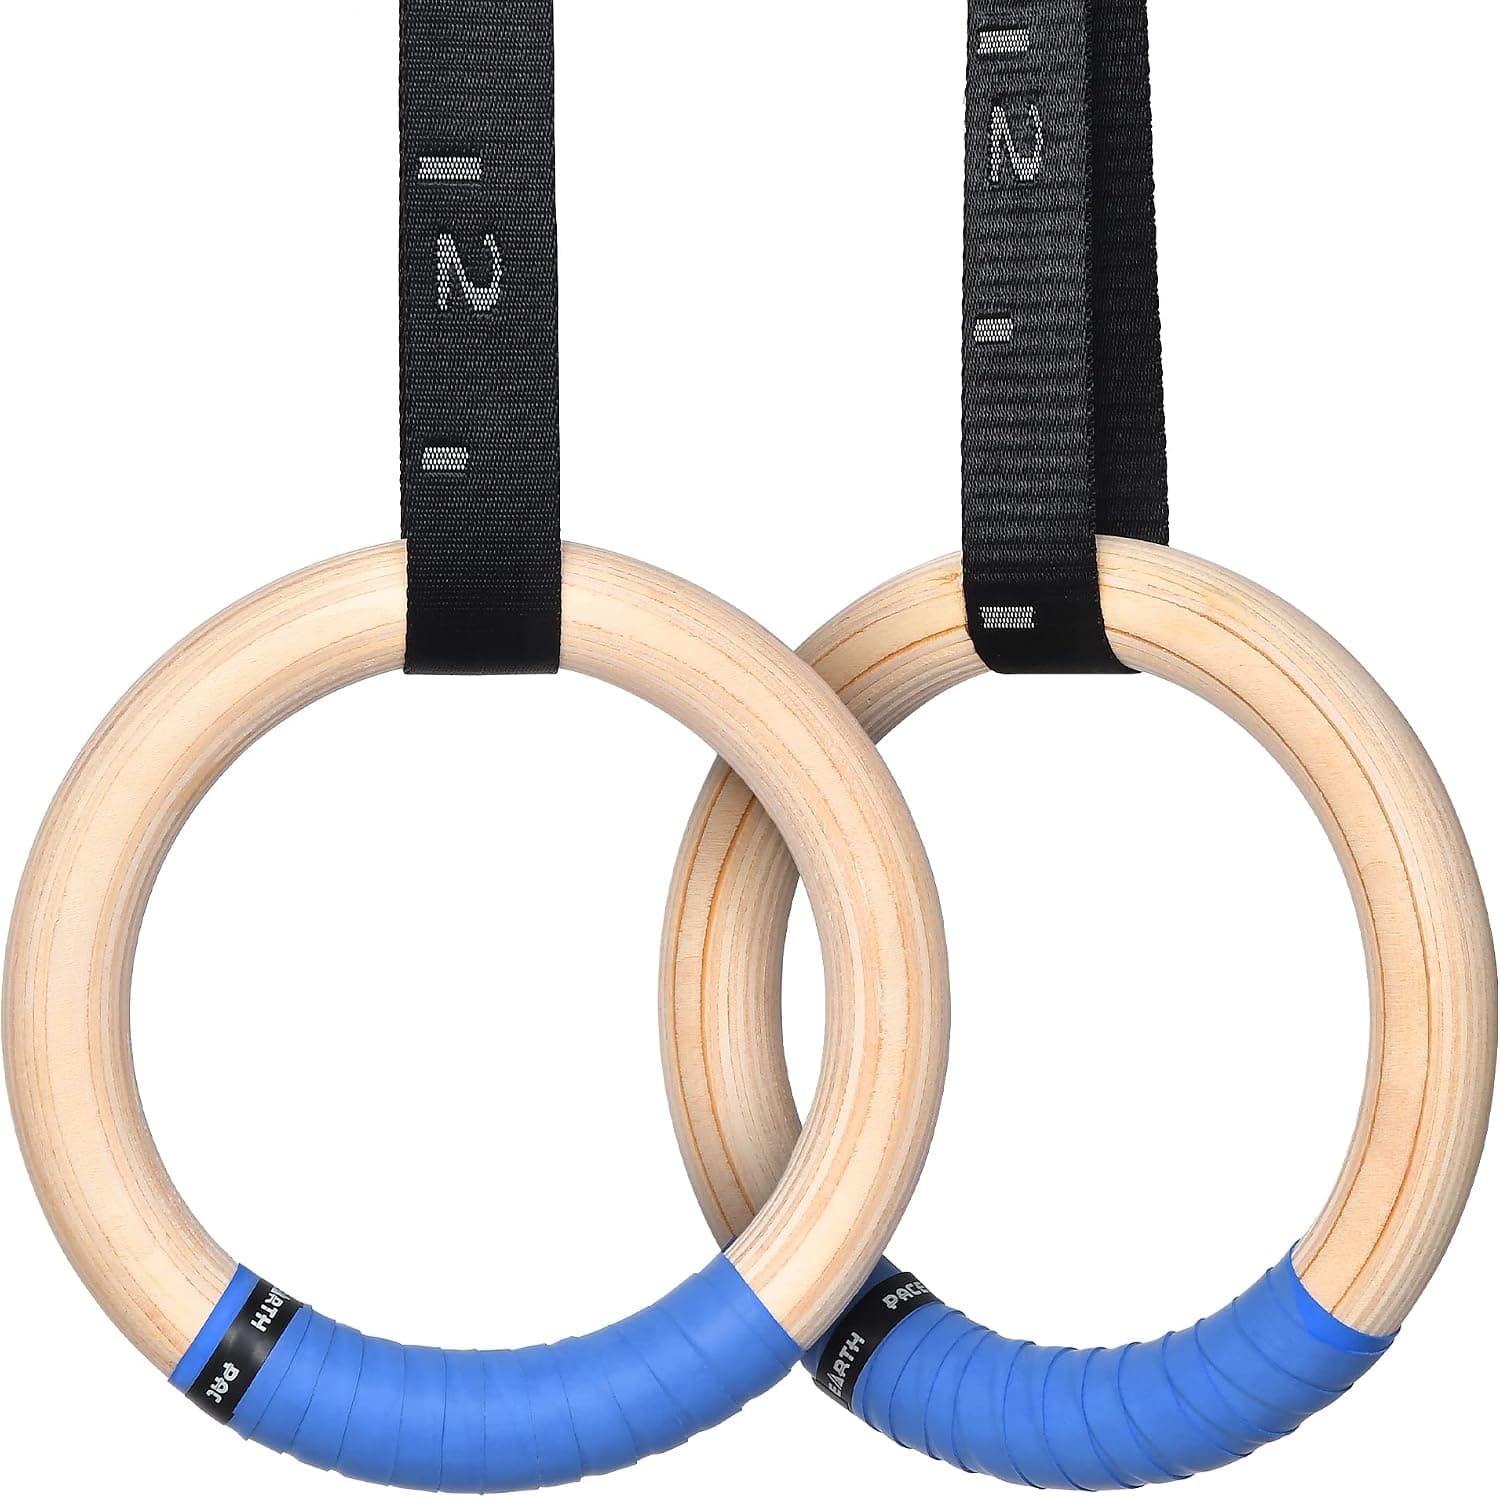
Gymnastic rings turn a single anchor point into a complete upper-body gym, which makes them ideal for renters and anyone short on floor space. They fold flat, travel easily, and scale from beginner rows to advanced dips. This guide walks through choosing a set, hanging them safely at home, and building a simple routine you can run in a corner of any room.
Why Rings Suit a Small Apartment
Rings pack an enormous range of exercises into two straps and two rings. You can push, pull, and hold from the same anchor, which means one piece of gear replaces several bulky machines. When you are done, they roll up and slide into a drawer, leaving no permanent footprint in your living space.
The instability of the rings also does extra work for you. Because each ring moves independently, your stabilizing muscles engage on every rep, so a modest number of movements delivers a lot of stimulus. That efficiency is exactly what you want when space and time are both limited.
Finding a Safe Anchor Point
The most common home anchors are a pull-up bar, a ceiling joist, or a sturdy beam. Whatever you choose, it needs to hold well beyond your bodyweight, since dynamic movements load the anchor harder than a static hang. If you rent and cannot drill, a doorway pull-up bar gives you a removable mounting point that leaves the frame intact.
Set the straps so the rings hang at the height the exercise calls for, then test each anchor with a slow, controlled hang before adding full movement. Check the buckles and strap threading every session, because a two-minute inspection is cheap insurance against a mid-rep failure.
Your First Ring Routine
Start with three foundational moves: ring rows for the back, ring push-ups for the chest, and supported dips for the triceps. Set the rings low for rows and higher for push-ups so you can adjust difficulty just by changing your body angle. Two or three rounds of each is plenty for a first few weeks.
Keep the reps clean rather than chasing numbers. Pause briefly at the hardest point of each rep, keep the rings pulled toward your body to stay stable, and stop a couple of reps short of failure while you are still learning the movement patterns.
Protecting Your Floor and Joints
Even though most ring work happens off the ground, you will still spend time kneeling, planking, and stretching underneath the anchor. A dense exercise mat protects your knees and wrists, dampens noise for downstairs neighbors, and gives you a defined training zone in a shared room.
If you plan to keep a permanent ring corner, a section of rubber flooring adds grip and cushioning for dismounts and floor holds. It also protects hardwood or laminate from scuffs when you set the rings down or move between exercises.
Recovering So You Can Train Often
Ring training loads the shoulders, elbows, and wrists in new ways, so recovery matters more than most beginners expect. Light mobility work between sessions keeps the joints feeling fresh and helps you return to the rings without lingering stiffness.
A foam roller after a session eases tight lats, forearms, and upper back, all of which take a beating from rows and hangs. Rolling for a few minutes before bed is a simple habit that keeps you consistent week after week.